Introduction
Slow cookers have revolutionized how we cook, making it possible to prepare hearty meals without constant supervision. Yet, many slow cooker users wonder if 4 hours on high is truly the same as 8 hours on low. While the settings may seem interchangeable, subtle differences in temperature, flavor development, and texture can significantly impact the results. This article dives deep into the science, practicality, and nuances of slow cooker settings to answer this popular query once and for all. Let’s explore how these settings stack up and how to make the most of your slow cooker.
Part 1: How Does a Slow Cooker Work?
The Basics of Slow Cookers
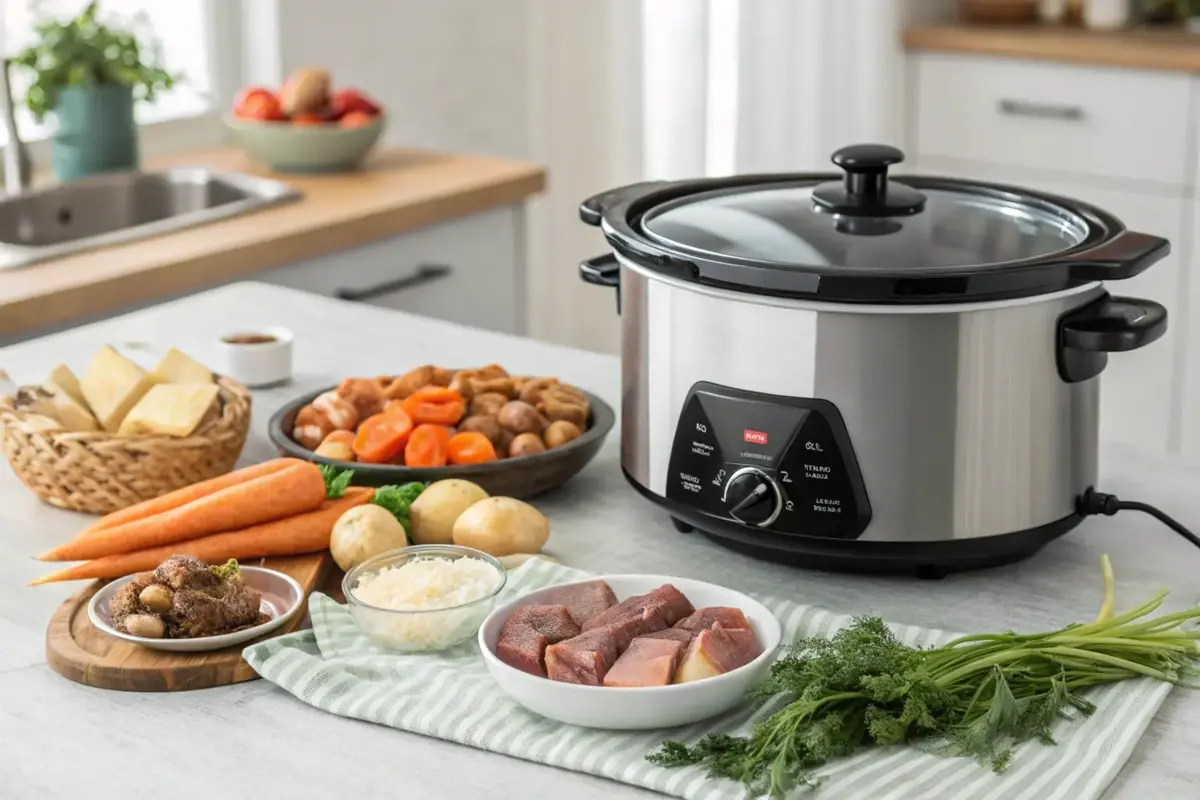
A slow cooker, often called a crock-pot, is more than just a convenient kitchen gadget. It works by applying consistent low heat over extended periods, which gently cooks food without scorching. The heating element surrounds the pot, and the tightly fitted lid traps heat and moisture, creating a mini-oven effect. This design not only saves time but also allows flavors to meld beautifully.
Slow cookers are perfect for a variety of dishes, including stews, casseroles, and tough cuts of meat, as their gradual cooking method breaks down connective tissues for a tender bite. The secret lies in the controlled environment that prevents food from drying out or burning.
High vs. Low Settings Explained
The main difference between the high and low settings is how quickly the cooker reaches the simmer point, usually around 209°F (98°C). Here’s a breakdown:
- Low Setting: The temperature gradually rises to about 170°F–190°F (77°C–88°C), making it ideal for tenderizing tougher ingredients.
- High Setting: It heats faster, reaching 200°F–220°F (93°C–104°C), which is great for quicker cooking times.
These settings don’t merely alter time; they also affect the dish’s texture and flavor. For example, a stew cooked on low for 8 hours will often have deeper, more harmonious flavors than one rushed on high for 4 hours.
When Should You Use Each Setting?
The choice of setting depends on your recipe and schedule:
- Use the low setting for meals that need a long, slow cook to fully develop flavors, such as soups and tough vegetables.
- Opt for the high setting when you’re short on time but still want a delicious, home-cooked meal.
Understanding the difference between these settings is the first step to mastering your slow cooker. Cooking on the high or low setting isn’t just about time; it’s about crafting meals that suit your taste and schedule.
Understanding slow cooking basics is key to making informed choices about these settings.

Part 3: Comparing 4 Hours on High vs. 8 Hours on Low
Are 4 Hours on High and 8 Hours on Low Interchangeable?
When it comes to slow cookers, the question of whether 4 hours on high is truly the same as 8 hours on low often arises. The general rule of thumb suggests that 1 hour on high is roughly equivalent to 2 hours on low, but the reality isn’t always so straightforward.
While both settings aim to cook food thoroughly, they do so in different ways. The high setting works faster, cooking at a higher temperature that brings food to the simmer point sooner. Meanwhile, the low setting allows the food to simmer gradually, providing ample time for flavors to meld and tougher ingredients to tenderize.
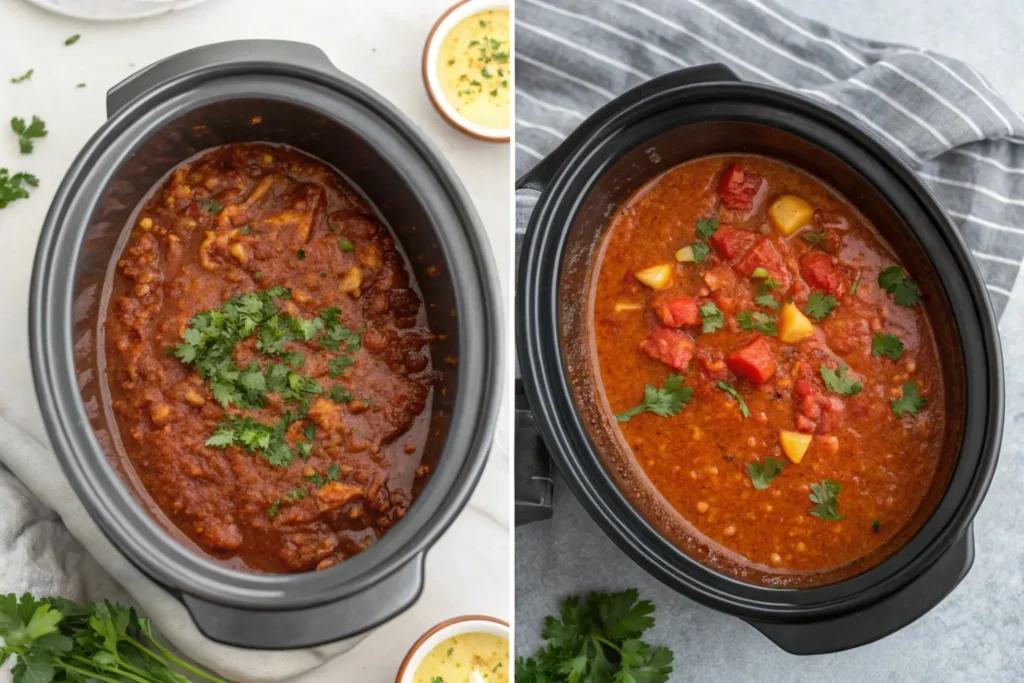
Here’s the catch: the settings may result in subtle but noticeable differences in texture, flavor development, and tenderness. A dish cooked on low for 8 hours will often have a richer, more cohesive flavor profile than one prepared on high for half the time, as the extended cooking process allows ingredients to release their natural flavors more completely.
Scenarios Where They Are Equivalent
In some cases, 4 hours on high and 8 hours on low can yield similar results, particularly for certain recipes and ingredients:
- Stews and Soups: Liquid-based recipes, such as chicken soup or beef stew, often adapt well to both settings because the liquid helps maintain even cooking and prevents drying out.
- Lean Meats: Chicken breasts and other lean cuts often cook evenly regardless of the setting since they don’t require extensive tenderization.
To adjust for equivalent results:
- Monitor the dish closely, especially if switching from low to high settings.
- Stir occasionally to ensure even cooking, though this should be minimized to avoid heat loss.
Scenarios Where They Differ
However, not all recipes can handle a simple switch between high and low settings. Some dishes and ingredients behave differently due to the temperature variations:
- Tough Cuts of Meat: Dishes like pot roast or lamb shank require the extended cooking time provided by the low setting to break down collagen into gelatin, resulting in tender meat. Cooking these on high may leave the meat less tender.
- Delicate Vegetables: Softer vegetables, such as zucchini or spinach, can become mushy or lose texture when cooked on low for too long.
Switching settings without adjustments may lead to overcooking or undercooking. For example, starting a meal on high and then switching to low can help achieve the best balance in texture and flavor.

Part 4: Factors That Influence Cooking Equivalence
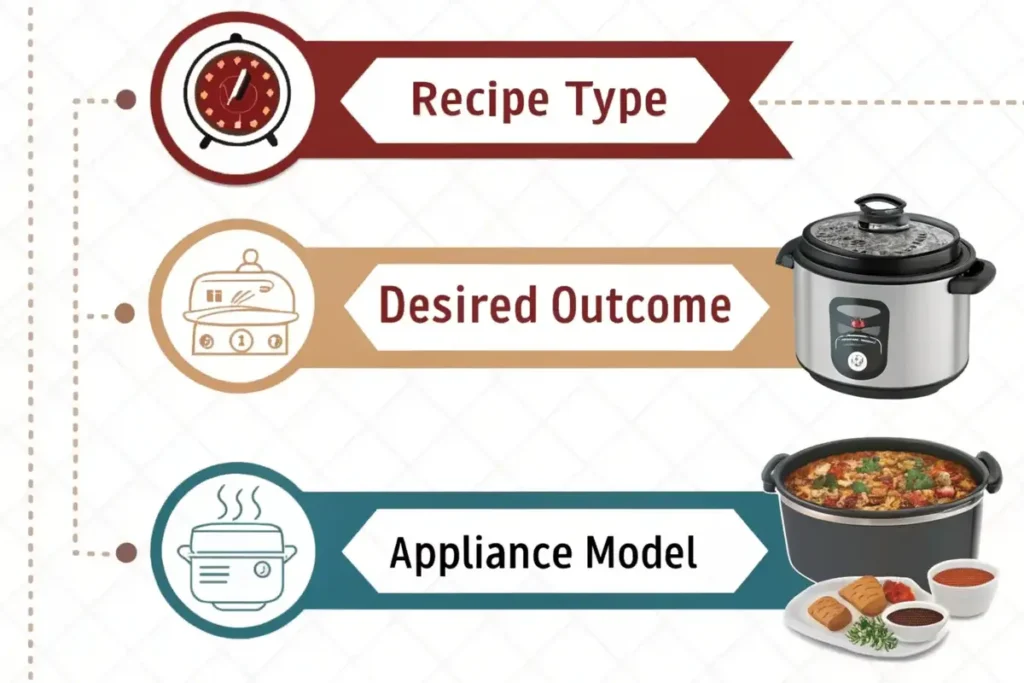
Recipe Type and Ingredients
The type of recipe and the nature of its ingredients play a significant role in determining whether 4 hours on high and 8 hours on low are interchangeable.
- Tough Cuts of Meat: Slow cooking on low is ideal for tougher meats, like brisket or pork shoulder, as the prolonged heat breaks down connective tissues. Cooking these on high may rush the process and leave the meat chewy.
- Delicate Vegetables: Ingredients like peas or asparagus fare better on high for shorter durations to retain their texture and color.
Certain recipes, like soups and stews, are more forgiving, allowing for flexibility between high and low settings. On the other hand, baked goods or dairy-based recipes are less adaptable due to the risk of curdling or overcooking.
Desired Outcome
Your intended result also influences which setting to use:
- Flavor Development: Recipes cooked on low often have a deeper flavor because the extended cooking time allows ingredients to release and meld their flavors.
- Texture Considerations: For ultra-tender meat or well-blended stews, low is typically the better choice. Conversely, for firmer textures, the high setting may work best.
Understanding your culinary goals ensures you choose the right setting for each dish.
Appliance Variations
Not all slow cookers are created equal, and differences in appliance models can impact cooking times and results.
- Brand and Model Differences: Some slow cookers heat up faster or maintain a higher overall temperature, which can alter the effectiveness of the high and low settings.
- Accounting for Variability: To adjust for these differences:
- Test your slow cooker with a basic recipe to gauge its performance.
- Use a thermometer to check internal food temperatures to ensure safety and consistency.
Knowing your slow cooker’s quirks helps you make informed decisions and adapt recipes accordingly.
Tips for slow cooker conversions can provide further insights into adjusting for appliance variations.
Part 5: Practical Tips for Adjusting Cooking Times
How to Adapt Recipes
Converting recipes between high and low settings in a slow cooker isn’t rocket science, but it does require a bit of know-how. To ensure your meals turn out perfectly, consider the following tips:
Use the General Rule: For most recipes, cooking on high for 1 hour is equivalent to low for 2 hours. For example, if a recipe calls for 8 hours on low, you can adjust it to about 4 hours on high.
Stir Occasionally (If Needed): While frequent stirring isn’t recommended for slow cooking (as it releases heat), giving it a gentle stir midway through cooking can help with even heat distribution, especially when adapting recipes.
Monitor Doneness Closely: If you’re experimenting with a conversion, keep an eye on your dish in the last 30 minutes of cooking to avoid overcooking or undercooking.
Adapting recipes can open the door to flexibility in your cooking schedule while still delivering delicious results.
Common Mistakes to Avoid
Even seasoned slow cooker users sometimes slip up. Here are two key pitfalls to watch out for:
Overcooking Delicate Ingredients: Vegetables like zucchini, spinach, or peas can quickly become mushy if left too long in the slow cooker, especially on low. To avoid this, add these ingredients during the last hour of cooking.
Improper Layering: Believe it or not, how you layer ingredients in your slow cooker matters. Always place denser items like root vegetables (carrots, potatoes) at the bottom and more delicate ingredients, like herbs or greens, on top. This ensures everything cooks evenly.
Avoiding these common mistakes can save you time, effort, and frustration, making slow cooking a breeze.
Testing for Best Results
When it comes to slow cooking, a little experimentation goes a long way. Here’s how you can test and perfect your dishes:
Use a Meat Thermometer: The key to slow cooking success is hitting the right internal temperature. For meats, aim for at least 165°F (74°C) to ensure they’re cooked through and safe to eat.
Check Texture: For vegetables, poke them with a fork to check for tenderness. For meats, a good indicator of doneness is when the meat easily shreds with a fork.
Experiment with Your Cooker: Slow cookers vary by brand and model. Test yours with a simple recipe to learn how it performs on both settings. Take notes on cooking times and temperature to refine your future recipes.
By testing and tweaking, you’ll develop an intuitive feel for slow cooking that guarantees consistently great results.
Part 6: FAQs
Frequently Asked Questions About Slow Cooker Settings
Does doubling the time on low always work for high?
Not always. While the general rule is that 1 hour on high equals 2 hours on low, certain recipes don’t adapt perfectly to this formula. Delicate ingredients, like dairy or seafood, might overcook or separate. It’s essential to understand the nature of your dish and adjust cooking times accordingly.
Can you mix high and low settings in one recipe?
Yes, combining settings can be effective. For instance, you might start on high for the first hour to quickly bring the ingredients up to temperature, then switch to low to finish cooking. This method helps achieve the desired texture and ensures food is cooked thoroughly without being rushed.
Which setting is better for meal prep?
For meal prep, the low setting is often the better choice. It allows you to leave the slow cooker unattended for longer periods while ensuring the food doesn’t overcook. However, if you’re short on time, the high setting can speed up the process without compromising the quality of the meal significantly.
Do all slow cookers have the same high and low settings?
No, slow cookers vary by brand and model. Some cookers run hotter than others, meaning their high and low settings might differ slightly. Always check your manufacturer’s manual and test your slow cooker with a simple recipe to understand its performance.
Part 7: Conclusion
Wrapping Up: High vs. Low Settings in Slow Cookers
Understanding the differences between 4 hours on high and 8 hours on low in a slow cooker is key to mastering this versatile kitchen tool. While both settings can produce delicious results, they excel in different scenarios. The low settingoffers deeper flavor and tender textures over long cooking times, while the high setting is ideal for quicker meals without sacrificing too much quality.
Both settings are effective when used thoughtfully, and with a bit of experimentation, you can adapt recipes to suit your schedule and taste preferences. Remember, the secret lies in knowing your ingredients, slow cooker model, and desired outcomes.
Whether you’re crafting a hearty stew or prepping for a busy week, your slow cooker has the flexibility to deliver mouthwatering meals with ease. Happy slow cooking!

